HDR Photography, or High Dynamic Range Photography, is all the rage right now. With the advent of image-heavy social media platforms that call for eye-catching and dramatic photos (like Instagram and Pinterest), it isn’t any wonder why this artistic photography technique is even available on your iPhone. Not everyone loves HDR; some even argue that it’s more like digital imaging than real photography. I’m not going to take a position on the merit of HDR, but rather to explain more clearly what HDR Photography is, and when you should and definitely shouldn’t turn it on.
What is HDR Photography?
Remember that lesson on the histogram when we talked about situations of high contrast? If you need to freshen your memory you can take a look back at my previous lessons on histograms and exposure. In brief, high contrast most often occurs when you have a very bright sky casting harsh shadows on the foreground. In situations like these, it can be difficult for your camera to get the exposure right—your photo will likely be too bright or too dark. Taking your photo using HDR can fix that though, ultimately allowing you to capture the details in the sky without making the foreground too dark.
Here’s how it’s done: HDR photography uses a technique that involves combining multiple images into one. Basically your camera will take 3 photos at different exposures: one bright photo, one ‘normal’ photo and one dark photo. When the 3 photos are combined, the shadows will become brighter and the highlights become darker. The camera will take the three photos automatically by changing your shutter speed.
When to consider HDR:
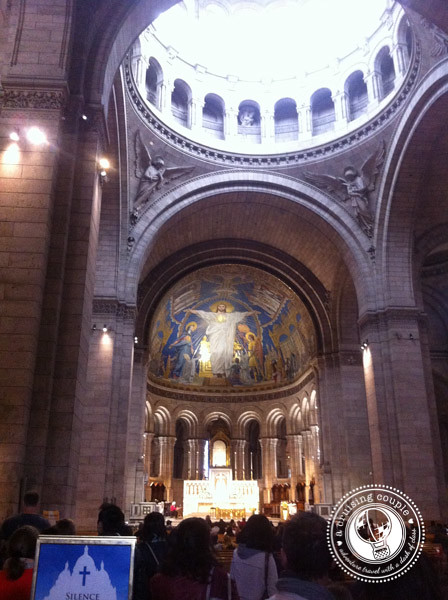
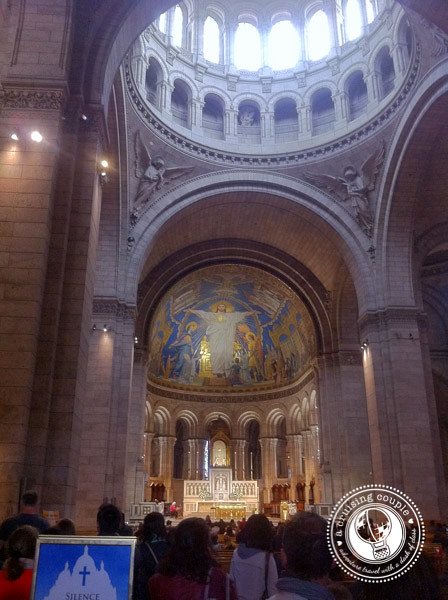
Backlit Scenes: Photos with a bright sky and dark foregrounds greatly benefit from HDR. In this church I wanted to bring detail into the backlit ceiling and HDR allowed me to do that.
Landscapes: When photographing landscapes, there are often a lot of details that you are trying to pick up, both in the sky as well as the foreground. HDR can let you capture those details without making any one part of the photo look too dark.
When to avoid HDR:
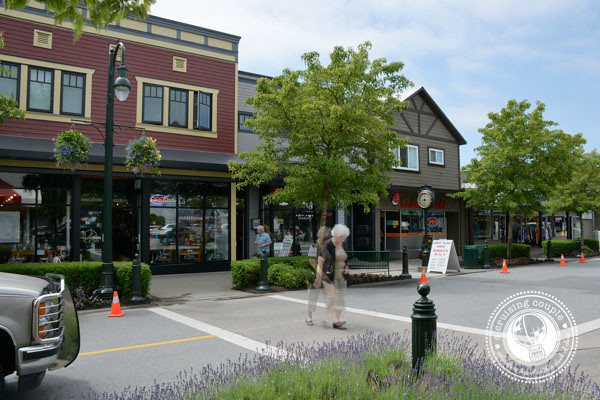
Movement: In HDR you are combing multiple photos, so of course they all need to line up perfectly. That means no movement at all, what so ever. If there is movement then the photos won’t line up and you’ll end up with a ghostly-grandma-crossing-the-street effect, or blur, that looks something like this:
It’s best to always use a tripod when taking HDR photos to minimize camera shake.
Highly Saturated Scenes: If you’re dealing with colors that are already very powerful, HDR may overdo it and cause your photos to look super-saturated and “fake.”
Going Farther
Once you get the hang of HDR Photography, you don’t have to stop at combining just 3 photos. If you really want to capture detail in your photos, there are programs like Photoshop or Photomatix Pro that allow you to combine 3 to 7 images, thus gathering all the detail possible. There are also photo-editing tools like Lightroom for desktop and Snapseed for mobile devices that allow you to create HDR-like photos without actually combining multiple exposures. We’ll go into photo editing techniques in a later lesson.
How to set HDR up:
Taking HDR photos on your DSLR may be as easy as switching on your camera’s built-in HDR setting. First set your camera to Aperture Priority. If you’ve got it available, turn on your camera’s in-house HDR setting. On my Nikon D7100, I have the HDR function set on the Fn button. I can quickly switch it on if I feel the need. Once HDR is turned on, flip the focus to manual throughout the photo series so your camera doesn’t shift your focus point between shots. As a best practice, you may also want to set a 2-second time delay so that your finger pushing the shutter doesn’t shake the camera and cause any blur.
Alternatively you can set up an Auto-Exposure Bracketing system and then combine the photos later on your computer using Photoshop. To set up Auto-Exposure Bracketing on my Nikon D7100, I would hold down the BKT button and choose how many photos I want to combine: 3 or 5. I then choose the difference in exposure between the photos, from .3 to 3.0 EV. The post-processing can get quite complicated, so I won’t go into it here, but there are plenty of YouTube tutorials available on how to combine multiple images in Photoshop.
Personally, I use the in-camera HDR on my Nikon D7100 combined with post photo editing in Lightroom and it works brilliantly. I don’t have to worry about combining photos and editing too much on my computer.
I don’t use HDR all that much unless I find it absolutely necessary. However, I do use it most of the time on my iPhone for pictures on Instagram. The HDR setting tells the phone to take a regular and an HDR image, so I can always go back and compare the two to see which I like better. Overall though, when it comes to media like Instagram, highly edited photos attract more attention and gather more ‘likes’.
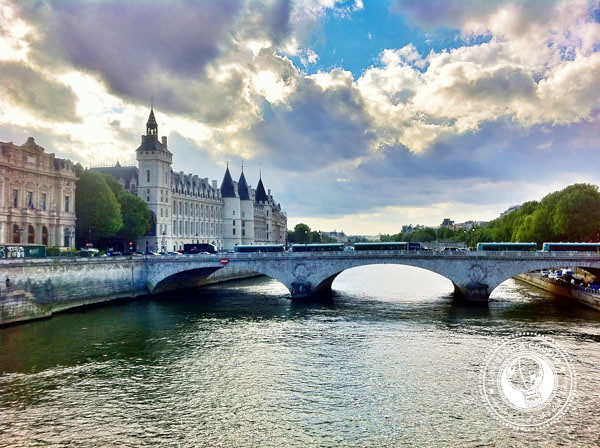
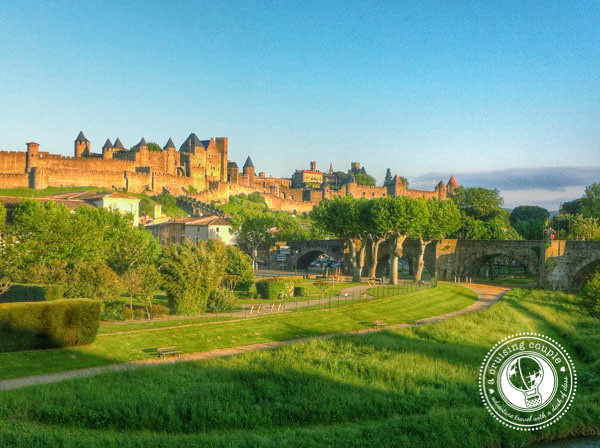
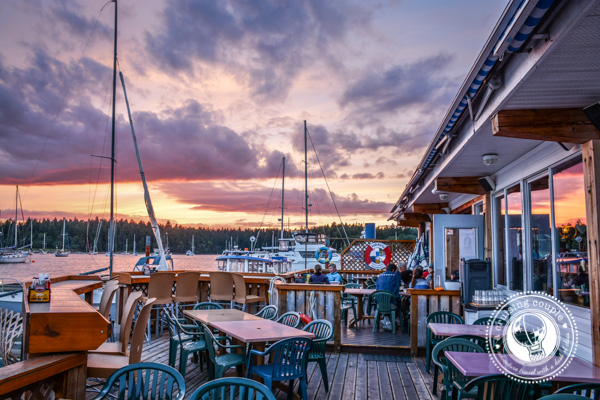
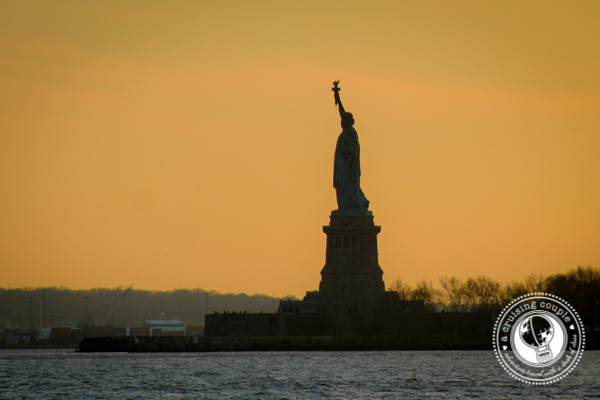
HDR is a great technique when used under the right circumstances. All of these HDR photos were taken using my iPhone’s HDR setting and edited on my phone using Snapseed. Ultimately, remember that photography is an art and it’s up to you to create photos and memories that help you reflect on how you felt at the time the photo was taken. Play around with HDR and see what you think!
Do you use HDR in your photography?
Further Reading
~ Natural Light: Explains the different qualities of natural light and how to use them to your advantage.
~ The Exposure Triangle: Discusses the 3 parts of the exposure triangle and how they affect your photos.
~ Understanding the Histogram: Learn how this graph can inform you about everything in your image.
~ Composition: An introduction to the artistic side of creating an eye-catching photo.
~ Dan R Moore Photo Shop: Discover and purchase photos from around the world.


Good, sensible comments – thanks
Rob Weir recently posted…Weekly Photo Challenge: Room 2
Thank you Rob :-)
I also use snapseed to add HDR after I take the photo, but curious- why do you use the HDR iphone app while taking the photo, then go into snapseed too? Should I be taking it in HDR on my phone then adding more HDR on snapseed? seems like a lot!
Rachel of Hippie in Heels recently posted…Most Popular Travel to India Questions Answered
Great question Rachel! I definitely agree that the HDR effect is something that can be easily overdone if you’re not careful.
Basically a photo taken in HDR will have more details in the darks and highlights. Since the sensor on iphones is so poor compared to my DSLR, I personally try to gather as much detail in the original photo as possible so the adjustments I make via editing afterwards are to their maximum potential. I find I get a better quality photo if I take a photo using HDR and add a little HDR effect in Snapseed, as opposed to taking a normal photo and adding a lot of HDR effect. In the end it’s up to you though- I don’t think there’s a concrete right or wrong ☺
These are great tips. I recently got a new camera so needed some help with the settings for great pics!
Glad you found the post helpful! :-)
Great stuff, Dan. Sometimes I feel like people over-use HDR. It can really ruin your photos, but I have to admit that it can be totally awesome as well. I don’t have an HDR setting on my camera, but I do use Lightroom, too, to edit my photos afterwards. I usually aim for a slightly HDR-ish look.
Bram recently posted…Hiking Mount Moosilauke
Some people call it “hyper-realizm” but some HDR photography it a bit much for me. Your photography is fantastic so whatever it is you’re doing keep up the good work!! I do like a bit of HDR style in photography, but everything in moderation :-)
Great explanation Dan. I’ve used the HDR setting on my phone but haven’t used it in my dSLR. I love how the HDR fixed that shot in the church and I hope to remember to use that tip because I always seem to have trouble in situations like that. I’ve also played with the HDR setting in photoshop – and may have to test that out again too. Thanks!
Mary Calculated Traveller recently posted…Decapolis League â The Roman Ruins of Jerash, Jordan
It is a really useful tool! I rarely use it on my dSLR unless the situation really calls for it. I’ve seen some videos of people piecing together multiple exposures in photoshop and it looks amazing (though time consuming.)
Very informative, especially for travel. Low quality vacation photos are so annoying.
Jamie recently posted…What’s The Best Makeup Foundation?
With travel photography it is really important that your photos help put you back in the moment you took them. The clarity in HDR really helps you get all the details.
Fantastic tips. Thanks!
Arianwen recently posted…Melbourne Kayak Tours on the Yarra
Thanks Arianwen!
Wow — I’ve never used HDR on my iphone, but it sounds like it’s worth trying. Thanks for the great tutorial.
Terry at Overnight New York recently posted…Roosevelt Hotel: Summer Movies
You’re welcome Terry! Let me know how it goes :-)
Excellent post, very well written and easy to digest. I’m not a fan of HDR except to the case you mentioned about when you have extremes of highlights and contrast which doing HDR works very well to bring back a workable image to present
noel recently posted…Travel photo : Blue Mosque in Istanbul
Thanks Noel! HDR can be pretty handy for those tough situations, but some HDR is just too much for me.
Thanks for sharing your tips on when to and when not to use HDR. Your explaination of the information made it very easy to understand for photographers of all levels.
Mary @Green Global Travel recently posted…Cycling South Koster Island, Sweden
Thanks Mary!
Thanks for the tutorial. I use a Nikon too but I’ve never used it there before. It’s nice an iPhone can do that as well. I wonder if my Samsung is capable of it? Would love to be able to take photos with such vivid details.
Aleah | SolitaryWanderer.com recently posted…Learning Thai Cooking in Sangkhlaburi
For Samsung you may need to download a separate HDR app to use while taking photos, but it is the exact same technique. If you figure out how to apply HDR on your Samsung I’m sure there are others who would love to hear how you did it!
Very useful to see it broken down like this, especially the when to use it and not. Thanks!
Lillie – @WorldLillie recently posted…My Favorite Exhibit at the Museum of Fine Arts, Boston
Glad you liked it Lillie!
Very cool — I need to do more HDR!
Travelogged recently posted…KLM Business Seats Go Full Flat, Plus KLM’s #Flatornot Contest
HDR is a lot of fun to play around with :-)
thanks for this topic
los cocina recently posted…Una nueva manera de preparar la crema de sopa de miel, llamó a una crema de miel sopa de la cocina española
I found this resource to be helpful in looking up cameras with AEB Capabilities. In some cases there are training videos available as well as links to the manual for that particular camera model. http://treetopviewmedia.com/auto-exposure-bracketing/